 4.9
4.9 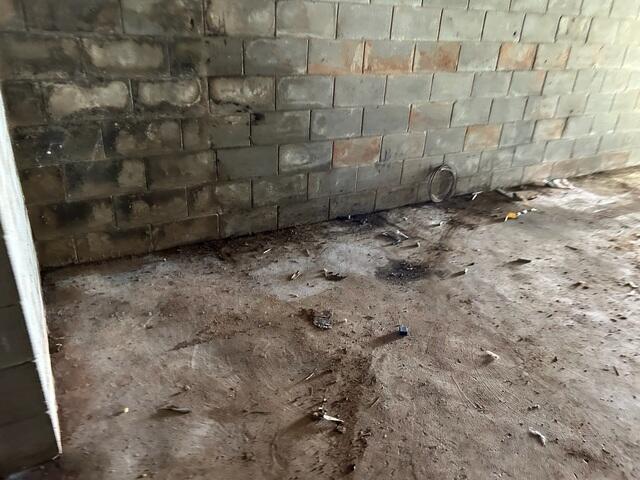
Basement During Inspection
During the inspection, water damage is visible, and the foundation wall is bowing. We will fix the wall with the PowerBrace system and take care of the moisture issues with our WaterGuard system.
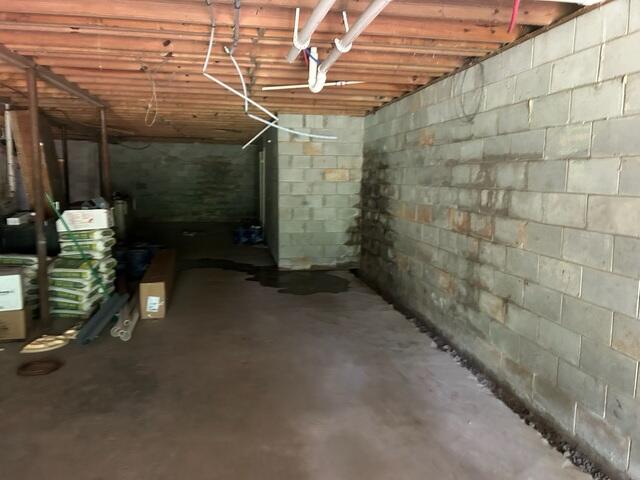
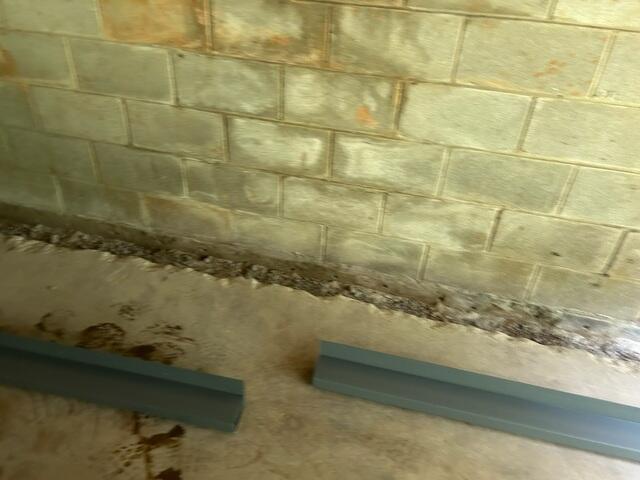
Trench Dug
A trench is dug to get ready to install the wall repair system and the subfloor drainage system.
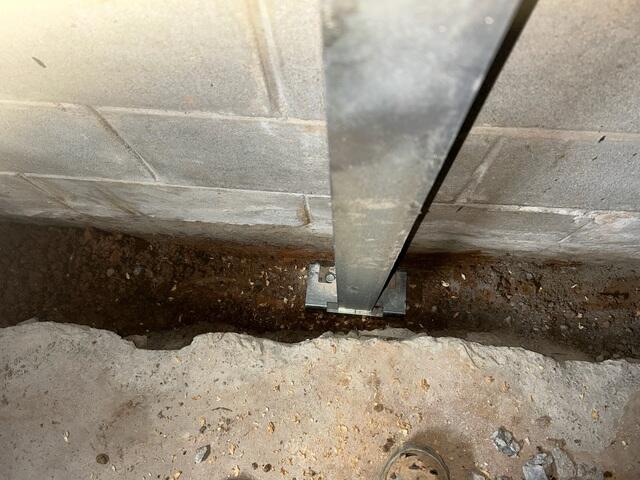
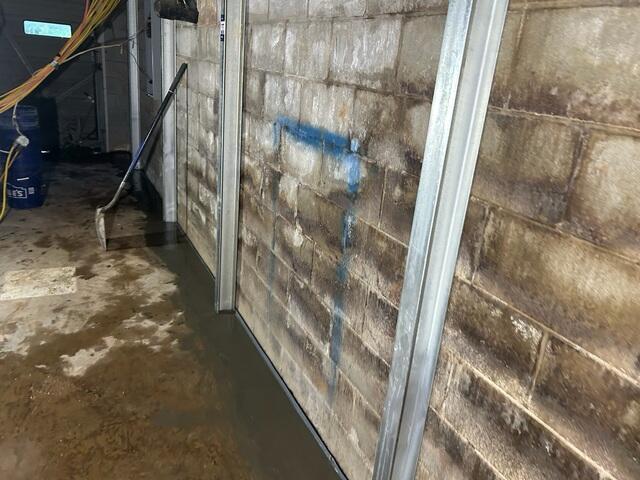
PowerBrace Installation Starting
When foundation walls begin to buckle, bow or tilt inward, homeowners are correct to be alarmed. Outside pressure from soil and water can cause foundation walls to collapse! The PowerBrace™ is a patented foundation wall repair system that's designed to stabilize failing basement walls and provide the potential to straighten walls over time.
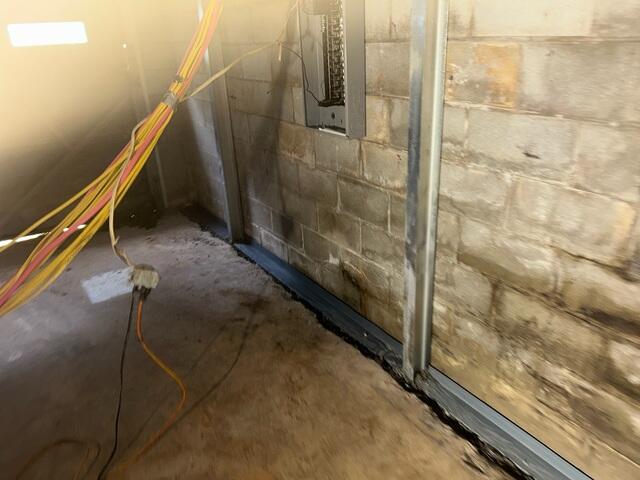
WaterGuard Installation
After the PowerBrace beams are installed, the WaterGuard system is placed around it.
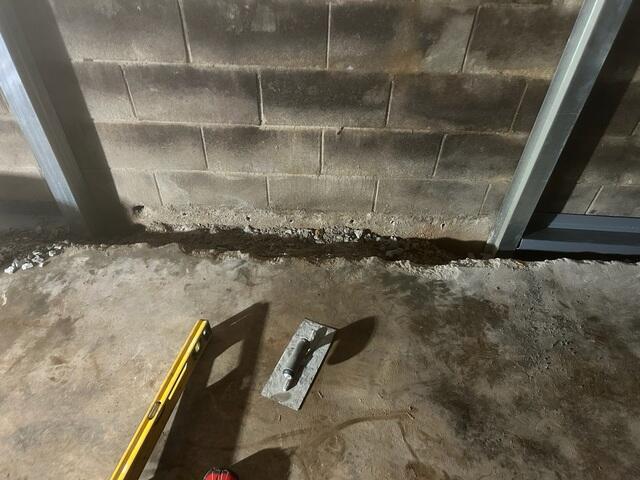
Weep Holes
After the trench is dug, weep holes are drilled for water to seep through. The WaterGuard system is ready to install now.
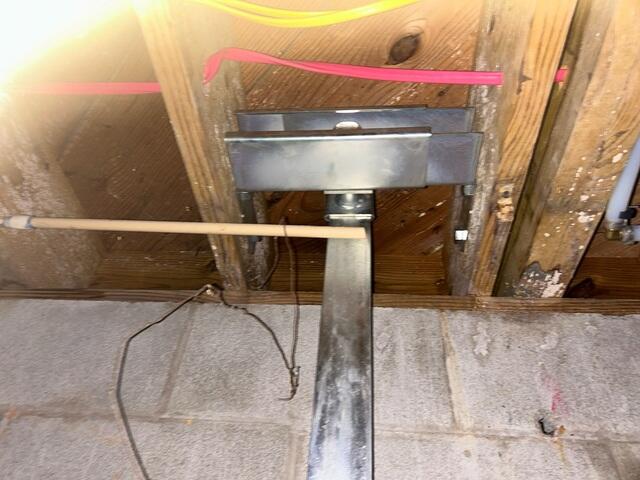
Top of PwerBrace System
These steel i-beams will stabilize the wall in its current position without any further adjustment. Over time, the PowerBrace™ System can be tightened to make bowing or tilting walls straighter.
WaterGuard Installation Process
Our most popular drainage system, WaterGuard® is the ideal solution for most basement waterproofing applications. It is placed around the basement perimeter leading to the sump pump.

CleanSpace Liner
After the WaterGuard is placed, a layer of CleanSpace is placed over it for an added layer of protection.
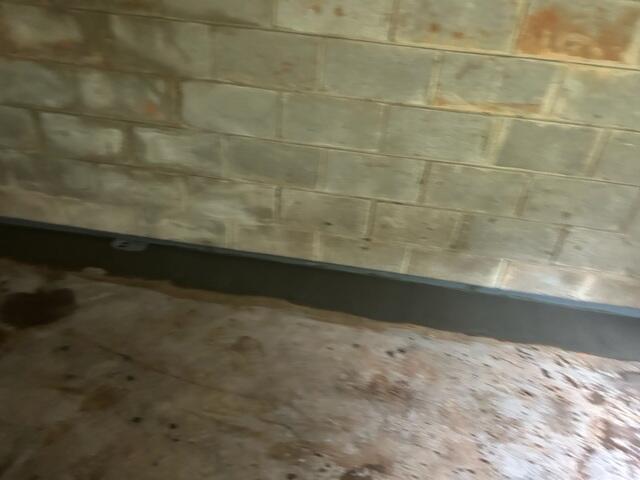
PowerBrace and WaterGuard in Place
After both systems are in place, a layer of cement is applied on top to secure everything.
Basement Waterproofing Complete
All the WaterGuard is in place and cemented in. This project is now complete.